Losing a Word document can be frustrating, but Microsoft Word for Mac’s AutoRecovery feature can save the day. AutoRecovery automatically saves copies of your documents to a specific folder, allowing you to recover unsaved work if Word crashes or your Mac shuts down unexpectedly. This article will guide you on where to find the AutoRecovery folder, how it works, and how to use it effectively.
What Is AutoRecovery in Microsoft Word for Mac?
AutoRecovery is a built-in feature in Microsoft Word that creates temporary backups of your documents at regular intervals. It is designed to prevent data loss in case of unexpected crashes or closures. These temporary files are stored in a dedicated AutoRecovery folder on your Mac until the document is saved or the application is closed.
Key Features of AutoRecovery:
- Automatically saves your work without manual input.
- Restores unsaved changes after crashes.
- Ensures peace of mind for Mac users working on critical documents.
Where Is the AutoRecovery Folder Located?
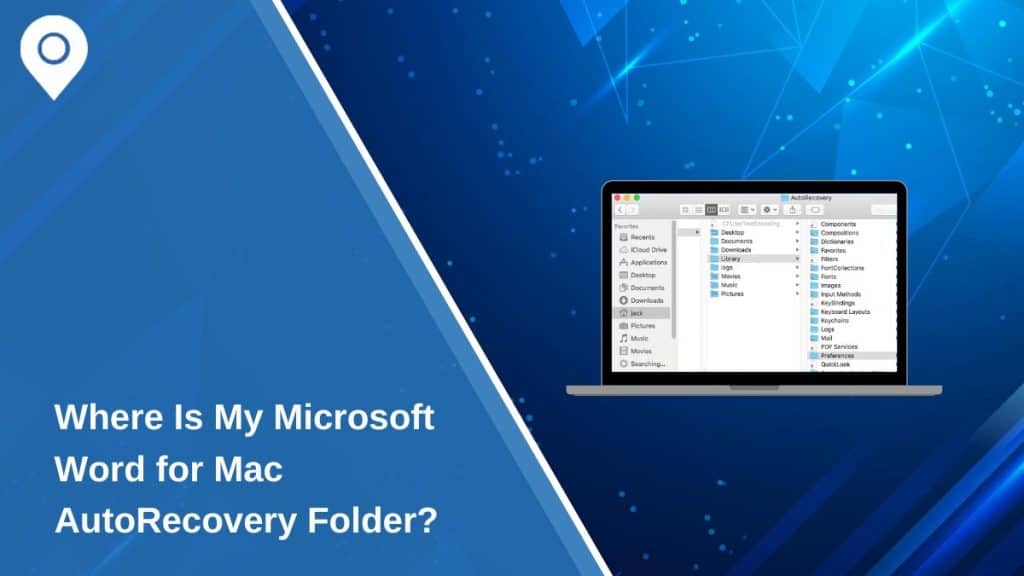
The AutoRecovery folder on Mac is hidden within the system’s Library directory. Here’s the default path:
~/Library/Containers/com.microsoft.Word/Data/Library/Preferences/AutoRecovery/
How to Access the AutoRecovery Folder Using Finder:
- Open Finder on your Mac.
- Click on Go in the top menu bar and select Go to Folder.
- Type the following path:
~/Library/Containers/com.microsoft.Word/Data/Library/Preferences/AutoRecovery/ - Press Enter to open the AutoRecovery folder.
If you cannot see the folder, ensure that hidden files are enabled. To do this, press Command + Shift + Period in Finder to toggle hidden files visibility.
How to Locate the AutoRecovery Folder Using Word Settings
In some cases, you can also find the AutoRecovery folder by checking Word’s preferences. Here’s how:
- Open Microsoft Word.
- Go to Word > Preferences > File Locations.
- Look for the AutoRecovery files path and note the location.
- Navigate to the specified folder in Finder to access your AutoRecovery files.
How AutoRecovery Files Work
AutoRecovery files are temporary backups created at intervals set in Word’s preferences. By default, Word saves these files every 10 minutes. These files are automatically deleted once you save and close your document.
How to Recognize AutoRecovery Files:
- Files often have names like
AutoRecovery save of [Document Name].docx. - They may not appear in the main Word interface but can be opened directly from the AutoRecovery folder.
How to Recover Unsaved Documents
If you accidentally close Word or experience a crash, follow these steps to recover your work:
- Open Finder and navigate to the AutoRecovery folder.
- Look for a file with a name similar to your document.
- Double-click the file to open it in Word.
- Save the document immediately to prevent further loss.
Alternative Recovery Methods:
- Check Temporary Files: Occasionally, unsaved files may also be found in temporary directories.
- Use Time Machine: If you have Time Machine enabled, you can restore older versions of the document.
Troubleshooting AutoRecovery Issues
Here are some common problems with AutoRecovery and their solutions to help you quickly recover your unsaved documents.
Missing AutoRecovery Folder
If you can’t find the AutoRecovery folder, it may be because:
- AutoRecovery is disabled in Word preferences.
- The folder or its contents were deleted accidentally.
Solution: Open Word, go to Preferences > Save, and ensure that AutoRecovery is enabled.
AutoRecovery Files Not Appearing
If you expect an AutoRecovery file but can’t find it:
- Restart Word to trigger any remaining unsaved files to appear.
- Ensure your macOS and Word application are updated to the latest versions.
Tips for Document Safety on Mac
To avoid relying solely on AutoRecovery, consider these best practices:
- Enable AutoSave: Use the AutoSave feature to continuously save your work to a cloud service like OneDrive or iCloud.
- Manually Save Regularly: Develop a habit of saving your work frequently, especially during long writing sessions.
- Use Cloud Backups: Storing your files in cloud services ensures you can access them even if your device encounters issues.
Conclusion
The AutoRecovery feature in Microsoft Word for Mac is a lifesaver for anyone who has ever experienced unexpected document loss. Knowing where to find the AutoRecovery folder and how to recover unsaved files can save you time and frustration.
Pro Tip: Always enable AutoSave and back up important documents to cloud services for added security. Share this guide with friends or colleagues to help them safeguard their work!
