Dell Client Management Service is a vital tool for IT administrators managing Dell devices. It simplifies updates, monitoring, and remote management tasks, making it an essential component for maintaining enterprise-level efficiency. This guide explains how to install Dell Client Management Service step by step.
What is Dell Client Management Service?
Dell Client Management Service is a software component of the Dell Client Command Suite. It is designed to enable IT administrators to manage and monitor Dell devices remotely. The service ensures that all connected devices are updated, secure, and operating efficiently.
Features include:
- Automated device updates.
- Hardware and software diagnostics.
- Remote configuration and management.
- Integration with Dell Command Suite for advanced management tools.
Benefits of Dell Client Management Service
Installing Dell Client Management Service offers several advantages, including:
- Streamlined Management: Manage multiple Dell devices from a centralized platform.
- Enhanced Security: Configure devices remotely to meet security policies.
- Increased Efficiency: Automate updates and diagnostic checks.
- Improved IT Support: Troubleshoot hardware and software issues quickly.
Prerequisites for Installation
Before you install the Dell Client Management Service, ensure the following:
- Supported Devices: Verify that your Dell device is compatible with the software.
- Operating System Requirements: The service is supported on Windows 10 and later versions.
- Administrative Permissions: Ensure you have the necessary admin rights for installation.
- Network Access: The system must have access to Dell’s support website to download the required files.
Steps to Install Dell Client Management Service

Installing the Dell Client Management Service requires a few simple steps. Below is a detailed guide to ensure a smooth installation process.
Step 1: Download the Installer
Before you begin, you need the correct installer file:
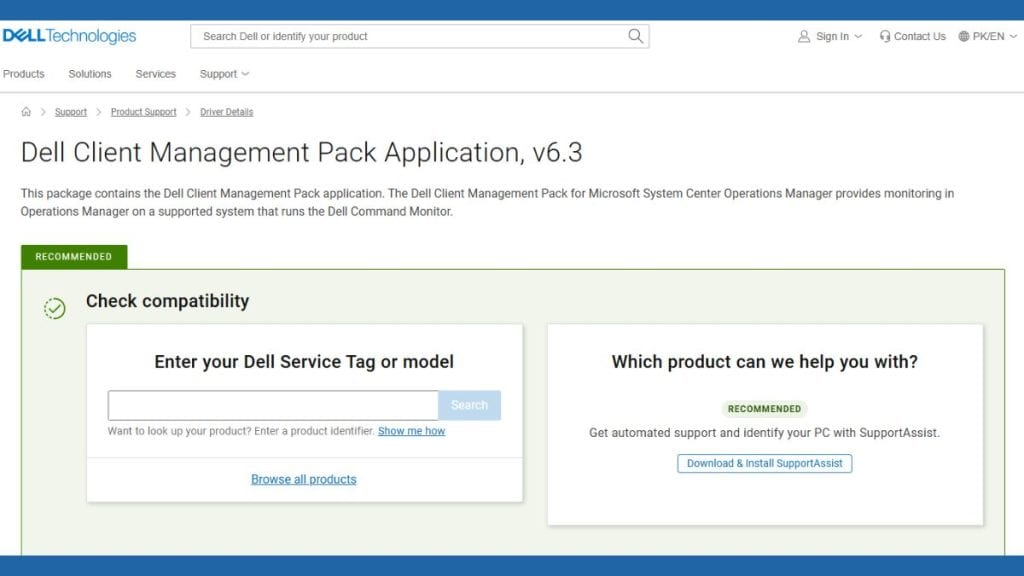
- Visit the Dell Support Website.
- Navigate to the Drivers & Downloads section.
- Search for the Dell Client Management Service installer specific to your device model.
- Download the installer file to your computer.
Step 2: Prepare for Installation
Make sure your system is ready for the installation process:
- Close unnecessary programs running on your computer to avoid conflicts.
- Verify that you have administrative privileges to install software.
- Check your system’s storage to ensure sufficient space for the installation.
Step 3: Run the Installer
With the installer ready, proceed as follows:
- Locate the downloaded installer file and double-click it to run.
- Follow the on-screen prompts to begin the installation process.
- Accept the license agreement and specify the installation directory.
Step 4: Complete the Setup
Finish the installation process:
- Wait for the installer to copy and configure the necessary files. This may take a few minutes.
- Once the installation is complete, restart your computer to apply the changes.
- Verify that the Dell Client Management Service is running by checking the Services application in Windows.
Configuring Dell Client Management Service
After successfully installing the Dell Client Management Service, it’s essential to configure it for optimal performance and usability. Below are five key configurations to set up the service:
- Connect to Dell Command Suite: Link the service to the Dell Command Suite for advanced management features. This integration allows centralized control of multiple Dell devices and streamlines configuration tasks.
- Set Up Remote Monitoring: Enable remote monitoring tools to track the performance, health, and updates of connected devices. Use these tools to generate reports and identify potential issues before they impact operations.
- Schedule Updates: Automate firmware and driver updates to keep all devices current and secure. Use the scheduling feature to set regular update intervals that suit your organization’s workflow.
- Configure Security Settings: Adjust the service’s security settings to align with your organization’s policies. Enable encryption and multi-factor authentication where applicable to enhance data protection.
- Test Functionality: Conduct a test run to verify that all configurations are working as intended. Check for connectivity issues, update application logs, and confirm successful remote management capabilities.
For an overview of these configurations, ensure to check all system logs for any anomalies during the initial test phase.
Troubleshooting Common Issues

Here are some tips to help you resolve common issues during the setup process:
Installation Errors
If the installation fails, ensure:
- Your device meets the minimum system requirements.
- You are running the installer with administrative privileges.
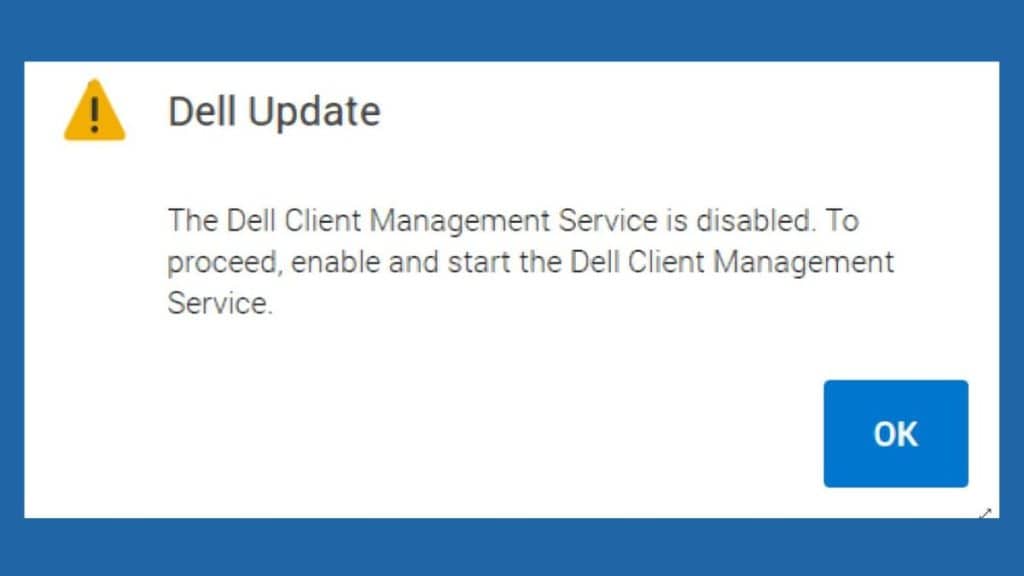
Service Not Starting
If the service doesn’t start:
- Verify that dependencies like .NET Framework are installed.
- Restart the system and try starting the service manually.
Device Connectivity Issues
For connectivity problems:
- Check your firewall settings to allow the service to communicate with Dell Command Suite.
- Ensure your network connection is stable and operational.
Best Practices for Managing Dell Devices
To get the most out of Dell Client Management Service, follow these tips:
- Keep Software Updated: Regularly check for updates to the service to access new features and bug fixes.
- Use Dell Resources: Leverage Dell’s support website for troubleshooting guides and knowledge base articles.
- Train IT Staff: Ensure your IT team is familiar with the software to maximize its potential.
Conclusion
Dell Client Management Service is an indispensable tool for managing Dell devices effectively. By following the steps outlined in this guide, you can install and configure the service to enhance your IT operations.
If you have additional questions or insights, feel free to share them in the comments below!