

UV mapping is a critical step in 3D modeling that ensures your textures are applied seamlessly to your models. Autodesk Maya offers robust tools for UV mapping, making it easier to create detailed and accurate textures. This guide will walk you through the process of creating UV maps in Maya, from preparing your model to applying textures and troubleshooting common issues.
Understanding UV Mapping in Maya
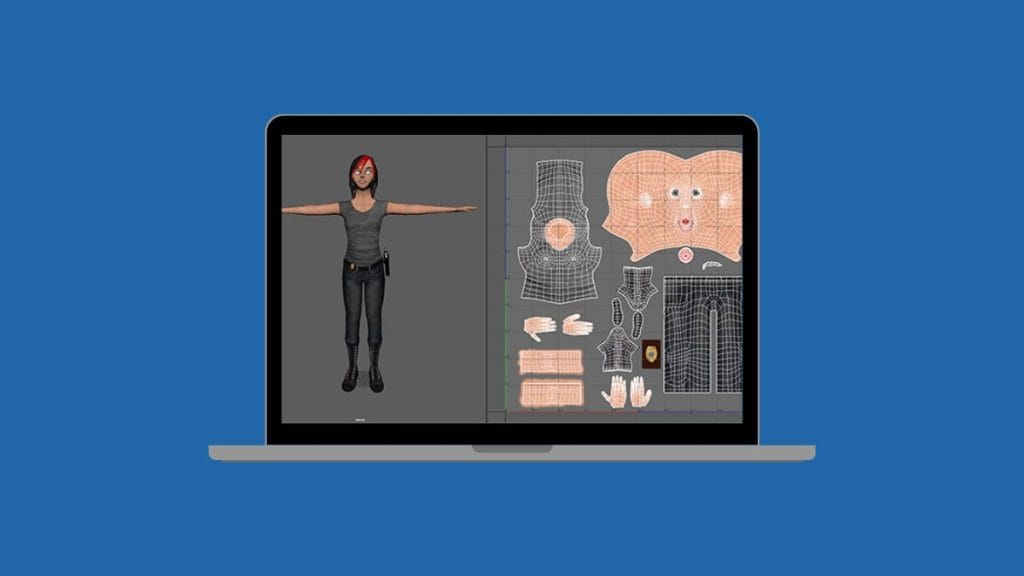
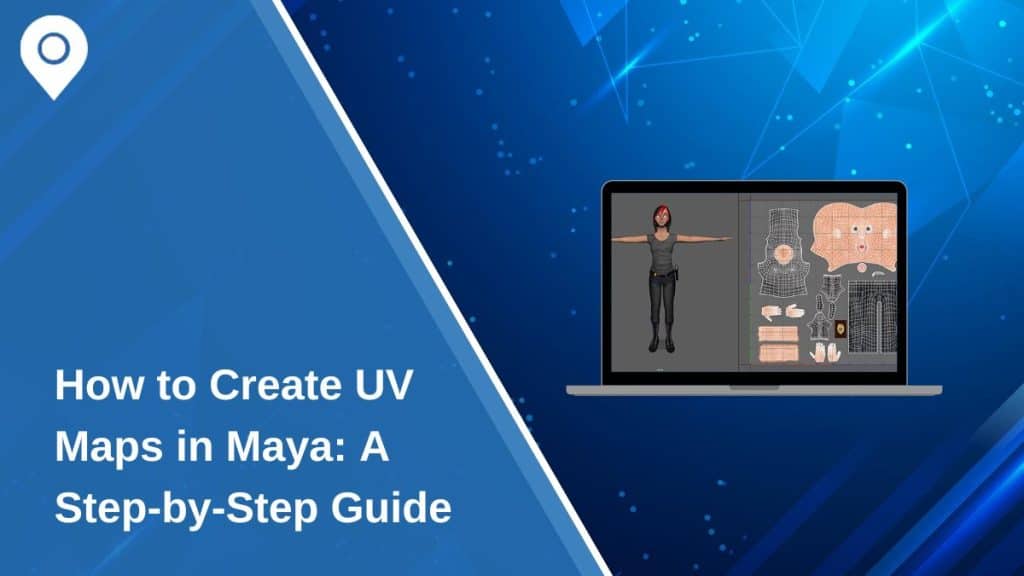
UV mapping is the process of projecting a 2D texture onto a 3D model. The “U” and “V” coordinates represent the axes in 2D space, allowing you to determine how textures are laid out across your model.
Why Is UV Mapping Important?
- Accurate Texturing: Ensures textures align correctly with the model.
- Creative Flexibility: Allows precise control over how textures appear on different surfaces.
- Optimized Workflow: Essential for animation, gaming, and rendering pipelines.
Maya’s UV Mapping Tools
Maya provides a dedicated UV Editor and UV Toolkit with features like planar projection, automatic mapping, and UV unwrapping, making the process streamlined and efficient.
Preparing Your Model for UV Mapping
Before you start creating UV maps, it’s important to prepare your model for a smooth workflow.
1. Check Model Topology
- Clean Geometry: Ensure your model has clean, quad-based topology to avoid UV stretching.
- Fix Non-Manifold Geometry: Resolve any topology issues like overlapping edges or faces.
2. Apply a Basic UV Map
For simple shapes, use Maya’s basic projection mapping options:
- Planar Projection: Ideal for flat surfaces.
- Cylindrical Projection: Works well for cylindrical objects like pipes.
- Spherical Projection: Best for round objects like balls.
How to Create UV Maps in Maya: A Step-by-Step Guide
Here’s a step by step guide to help you create UV maps in Maya with ease and precision.
1. Using the UV Editor
The UV Editor is where you’ll manage and manipulate your UV maps.
- Open the UV Editor by going to UV > UV Editor.
- View your UV layout in the 2D UV space to see how textures will align with your model.
2. Unwrapping UVs
For complex models, manual unwrapping ensures precise texture placement.
- Select the model and go to UV > 3D Cut and Sew Tool.
- Mark seams where the UV map should split for easier unfolding.
- Use Unfold in the UV Toolkit to unwrap the UV shells for optimal layout.
3. Adjusting UV Shells
After unwrapping, adjust UV shells to ensure a clean layout.
- Scale and rotate UV shells to fit them within the UV grid.
- Align shells to reduce texture stretching.
4. Packing UVs
Efficiently pack your UV shells to maximize texture space:
- Use the Layout UVs option in the UV Toolkit to auto-pack shells.
- Avoid overlapping UVs unless it’s intentional for mirrored textures.
Applying Textures and Testing UV Maps
Once your UV map is ready, you can apply textures to your model and test how they align.
1. Assigning Textures
- Apply a material to your model and connect a texture map in the Hypershade.
- Use the UV map to guide texture placement for accurate alignment.
2. Testing UV Maps
- Apply a checkerboard texture to preview your UV map.
- Look for distortions or stretching in the texture and adjust UV shells as needed.
3. Baking Textures
Bake textures for high-quality renders by transferring texture details to the UV map. Use the Transfer Maps tool for baking in Maya.
Troubleshooting Common Issues
Here are practical solutions to address common issues you may encounter while creating UV maps in Maya.
1. Overlapping UVs
Overlapping UVs occur when multiple UV shells occupy the same space within the UV grid, leading to texture conflicts and visual artifacts.
To resolve this issue, use Maya’s UV Editor to identify overlapping shells. Separate them by selecting the problematic shells and moving them apart. If necessary, scale and reposition the shells within the UV grid to ensure each has its unique space.
This step is crucial to avoid texture blending and ensure a clean, accurate texture application.
2. Texture Stretching
Texture stretching happens when UV shells are misaligned or unevenly scaled, causing distortions in your textures. To fix this, align the UV edges properly and scale the shells uniformly to maintain consistent proportions.
Applying a checkerboard texture in the UV Editor can help identify problem areas, as distortions will appear as uneven squares. Adjust the UV shells as needed to minimize stretching, ensuring that your textures display as intended.
3. UV Layout Optimization
Efficient UV layouts are essential for large scenes or high-resolution textures. To optimize your layout, consider using a UDIM workflow, which divides the UV space into multiple tiles for detailed texturing. This method helps manage complex models and large textures more effectively.
Advanced Tips for UV Mapping
Here are some advanced tips to help you create efficient and professional UV maps in Maya.
- Use UDIM Workflow: For high-resolution models, UDIM tiles allow for detailed textures across multiple UV spaces.
- Automate with Scripts: Use Python or MEL scripts to speed up repetitive UV mapping tasks.
- Symmetrical UV Mapping: Mirror UV shells for symmetrical models to save time and maintain consistency.
- Texture Resolution: Ensure UV shells are scaled proportionally for consistent texture resolution.
- Combine Tools: Use Maya’s UV tools alongside external software like Substance Painter for advanced texturing workflows.
Conclusion
Creating UV maps in Maya is an essential skill for anyone working in 3D modeling and texturing. By mastering the UV Editor and using Maya’s advanced tools, you can create clean and efficient UV layouts for any project. With practice, you’ll be able to tackle even the most complex models with ease.
Have questions or tips about UV mapping in Maya? Share your insights in the comments below and help others improve their workflow!