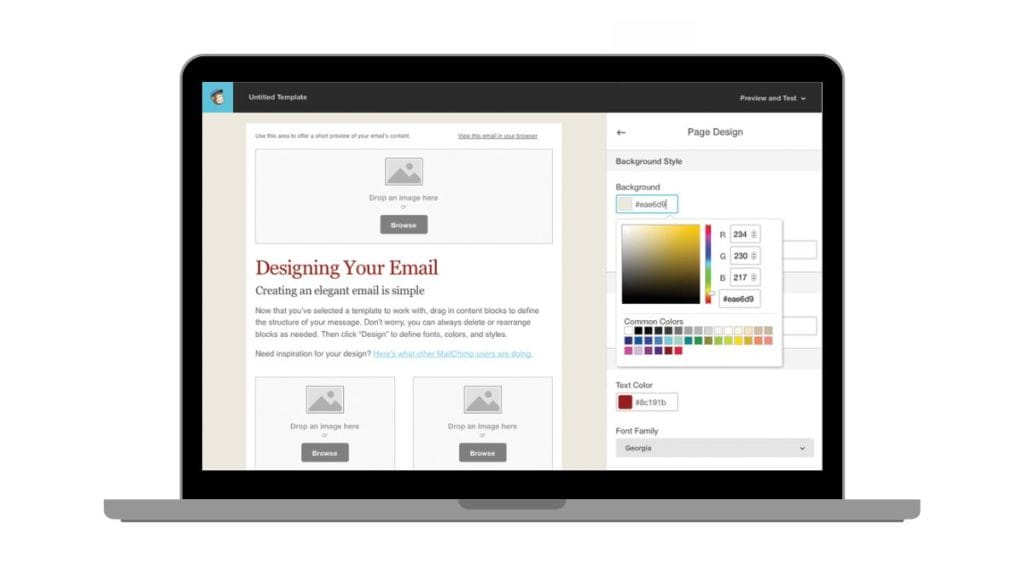
Mailchimp is a powerful email marketing tool that helps businesses create and manage engaging email campaigns. If you’ve designed an email template in Photoshop (PSD format), you might wonder how to integrate it into Mailchimp. While Mailchimp doesn’t allow direct PSD uploads, you can convert and optimize your PSD design to use it effectively in your email campaigns. This guide explains the process step-by-step, from preparing your PSD to customizing your Mailchimp campaign.
Can You Add PSD Files Directly to Mailchimp?
No, Mailchimp does not support uploading PSD files directly. PSD files are native to Adobe Photoshop and are not compatible with email platforms like Mailchimp. However, you can convert your PSD into email-friendly formats, such as HTML or image files, to incorporate your design into a Mailchimp campaign.
Converting your PSD allows you to preserve the design’s integrity while ensuring compatibility with email clients.
Steps to Add PSD Designs to Mailchimp

Follow these simple steps to transform your PSD design into a Mailchimp-compatible format and seamlessly integrate it into your campaign:
Step 1: Export Your PSD Design
Open your PSD file in Adobe Photoshop and export it in a format that Mailchimp supports:
- For HTML Templates: Use Adobe Dreamweaver or an online PSD-to-HTML converter to export your PSD as HTML. This preserves the design’s interactive elements.
- For Static Images: Export your design as a JPEG or PNG for integration into Mailchimp’s content builder.
Step 2: Optimize the Exported File
Ensure the exported file is optimized for email use:
- Compress images to reduce file size for faster loading times.
- Test the design for mobile responsiveness.
Step 3: Log in to Mailchimp
Access your Mailchimp account and create a new campaign:
- Navigate to Campaigns > Create Campaign.
- Select the type of campaign you want (e.g., email).
Step 4: Upload the Converted File
- If using HTML:
- Choose Code Your Own in the Mailchimp content builder.
- Copy and paste the HTML code from your exported file.
- If using images:
- Use the Drag-and-Drop Editor to insert the JPEG or PNG files into your email layout.
Step 5: Customize Your Campaign
Adjust the content to fit your brand:
- Add text, buttons, and links within Mailchimp.
- Ensure the design aligns with your campaign goals.
How to Prepare Your PSD Files for Email Compatibility
To ensure your PSD design works seamlessly in an email campaign, follow these best practices:
- Simplify the Design: Email clients have limitations, so avoid overly complex designs. Focus on key elements that enhance readability and engagement.
- Optimize for Mobile: Ensure your design looks good on mobile devices by testing the layout and scaling for smaller screens.
- Compress Images: Reduce image file sizes using tools like TinyPNG to improve load times without sacrificing quality.
Using Mailchimp’s Content Builder
Mailchimp’s drag-and-drop content builder allows you to integrate your PSD elements efficiently:
- Add Custom HTML: If your design is converted to HTML, use the “Code Your Own” option to paste the code.
- Insert Images: Drag and drop exported JPEG or PNG files into your email template.
- Enhance Layouts: Use Mailchimp’s tools to add interactive elements, such as buttons and links, that complement your PSD design.
Tips for Optimizing Your Email Campaigns
Email optimization is crucial to ensure your campaign performs well across all devices and email clients:
1. Test Across Clients
Before sending your campaign, use tools like Litmus or Email on Acid to preview how your email renders in various clients such as Gmail, Outlook, Yahoo Mail, and Apple Mail. This step helps identify potential formatting issues and ensures your design is consistent for all recipients.
2. Focus on Mobile Design
Since over half of emails are opened on mobile devices, it’s essential to design with mobile users in mind. Use a responsive layout that adapts to smaller screens, ensure text is legible, and include tappable buttons to make navigation easy for mobile users.
3. Streamline the Code
If you’re using HTML, remove any unnecessary or redundant code to avoid formatting inconsistencies. Minimize inline styles, avoid complex table nesting, and use clean, lightweight code to ensure emails load quickly and display correctly.
4. Compress Images for Faster Loading
Large image files can slow down loading times and impact user experience. Use tools like TinyPNG or ImageOptim to compress images without sacrificing quality. Optimized images ensure your email is visually appealing and loads quickly on all devices.
5. Include Alt Text for Accessibility
Add descriptive alt text to all images in your email to improve accessibility for visually impaired users and ensure important content is conveyed even if images fail to load. This also enhances your email’s compatibility with screen readers.
Conclusion
While you can’t upload PSD files directly to Mailchimp, converting and optimizing your designs allows you to leverage your creativity effectively in email campaigns. Whether you use HTML or images, the steps outlined here will help you integrate your PSD designs seamlessly into Mailchimp. By following best practices, you can create professional and visually appealing emails that engage your audience.
Have you integrated PSD designs into Mailchimp before? Share your tips and experiences in the comments below! If this guide was helpful, feel free to share it with others.