The AVer F17 document camera is a powerful tool for presentations, teaching, and remote learning. It allows you to project documents, images, and objects in real-time, making it an essential device for classrooms, offices, and virtual meetings. If you’re wondering how to connect your AVer F17 to a laptop, this guide will walk you through the process step-by-step, along with troubleshooting tips and best practices.
Understanding the AVer F17 Document Camera
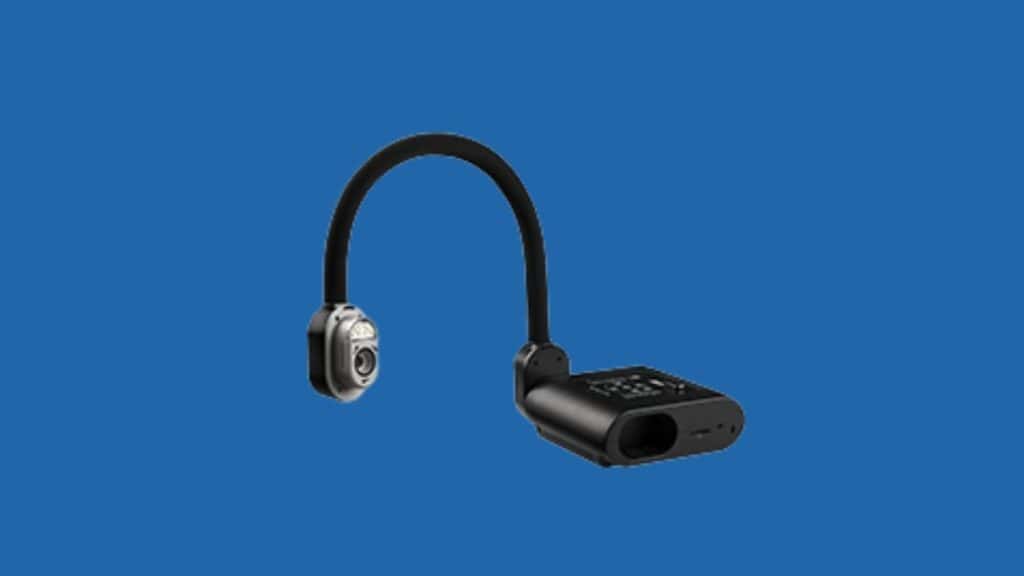
The AVer F17 is designed to enhance visual presentations with its flexible arm, high-resolution camera, and user-friendly controls. Whether you’re conducting a virtual class or delivering a live presentation, the AVer F17 ensures clarity and convenience.
Key Features of the AVer F17
- Flexible Arm: Adjust the camera to capture various angles.
- High-Resolution Output: Project clear and detailed images.
- Multiple Connectivity Options: Supports USB, HDMI, and VGA for versatile use.
- User-Friendly Design: Simple buttons and intuitive functionality.
The AVer F17 is compatible with most laptops, making it a versatile tool for professionals and educators.
Setting Up the AVer F17 with Your Laptop
Connecting your document camera to a laptop involves selecting the right connection method and ensuring it’s properly configured.
1. Choose a Connection Option
The AVer F17 offers three primary connection methods:
- USB: For direct connection to your laptop.
- HDMI: For high-quality video output.
- VGA: For older laptops or projectors.
2. Connecting via USB
Follow these steps to connect using a USB cable:
- Plug one end of the USB cable into the AVer F17 and the other into your laptop’s USB port.
- Power on the document camera using its power button.
- Your laptop should recognize the camera as a plug-and-play device.
3. Connecting via HDMI or VGA
For HDMI or VGA connections:
- Connect the appropriate cable to the AVer F17’s output port and the corresponding input port on your laptop.
- Use your laptop’s display settings to select the external input as the video source.
- Power on the document camera to start projecting.
4. Powering the Document Camera
Ensure the power adapter is securely connected to a power outlet and the camera. Turn on the device using the power switch, and wait for the indicator light to stabilize, signaling it’s ready for use.
Configuring the AVer F17 for Optimal Use
Once connected, configuring the camera ensures the best performance for your presentations or lessons.
1. Install AVer Software
To unlock advanced features, download and install AVerTouch software from the official AVer website. This software allows you to:
- Adjust camera settings.
- Record and annotate videos.
- Integrate with video conferencing platforms.
2. Adjust Camera Settings
Use the built-in controls or the software to:
- Focus: Ensure clear visuals by adjusting the focus knob.
- Brightness: Modify brightness levels for optimal display.
- Zoom: Use zoom controls to highlight specific details.
3. Use with Video Conferencing Tools
The AVer F17 works seamlessly with platforms like Zoom, Google Meet, and Microsoft Teams.
- Open your video conferencing app and select the AVer F17 as the video input source.
- Share your screen to display documents or objects in real-time.
Troubleshooting Common Issues
If you encounter problems, here are some solutions:
1. The Camera Isn’t Detected
- Ensure all cables are securely connected.
- Update your laptop’s USB or HDMI drivers.
- Restart the document camera and your laptop.
2. No Image Displayed
- Check that the camera is powered on and connected to the correct input.
- Adjust the display settings on your laptop.
- Test the cable with another device to ensure it’s functional.
3. Software Compatibility Issues
- Install the latest version of AVerTouch or update your operating system.
- Verify that your laptop meets the software’s system requirements.
4. Connection Stability
- Use high-quality cables to avoid intermittent disconnections.
- Ensure the power adapter is securely plugged in and functional.
Advanced Tips for a Better Experience
Here are tips to maximize your experience with the AVer F17:
- Enhance Presentation Quality: Use proper lighting to improve image clarity and reduce shadows on displayed documents.
- Integrate with Teaching Tools: Combine the AVer F17 with annotation software to create interactive lessons.
- Connect to a Projector: Use your laptop as a hub to connect the document camera to a projector for larger displays.
- Update Firmware: Regularly check for firmware updates on the AVer website to improve functionality.
- Maintain Your Camera: Clean the lens regularly and store the device safely when not in use to prolong its lifespan.
Conclusion
The AVer F17 document camera is a versatile and reliable tool for anyone needing to display documents or objects in real-time. By following this guide, you can easily connect it to your laptop and optimize it for professional and educational purposes.
Have questions or tips about using the AVer F17? Share them in the comments below, and don’t forget to share this guide with others who might benefit!